How to Sharpen a Japanese steel knife
Learn how to sharpen your Japanese Steel knife from start to finish.
1 | Preparation :
Before starting the sharpening process, make sure you have all the materials at hand:
- Your Yuzu knife
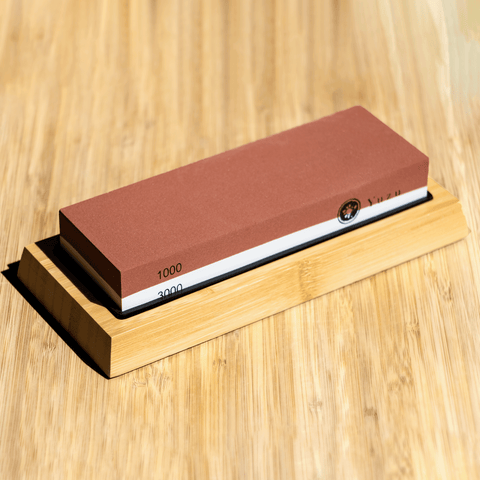
- A 1000/3000 dual-sided whetstone (like ours)
- A container of water for soaking the stone
○ To ensure the whetstone is ready for sharpening, you'll need to soak it in water for about 10-15 minutes.
○ This soaking process saturates the stone and minimizes friction, providing a smooth surface for sharpening.
○ Leave it to soak until bubbles have mostly stopped coming from the stone.
Secure the Stone○ Place the soaked whetstone on a stable surface, such as a countertop or a table. Ours comes with a stable wooden base to keep it in place on countertops.
○ If yours doesn’t have a base, consider using slightly wet towel underneath the stone to prevent any unwanted movement during sharpening.
Stone prep○ Splash a little bit of water on top of the stone if it is feeling a bit dry, keep doing this throughout the sharpening process if it starts feeling dry and rough.
○ It is important to keep the residue that forms during the process on the stone, this helps with the sharpening, so don’t wash it off!
2 | Sharpening :
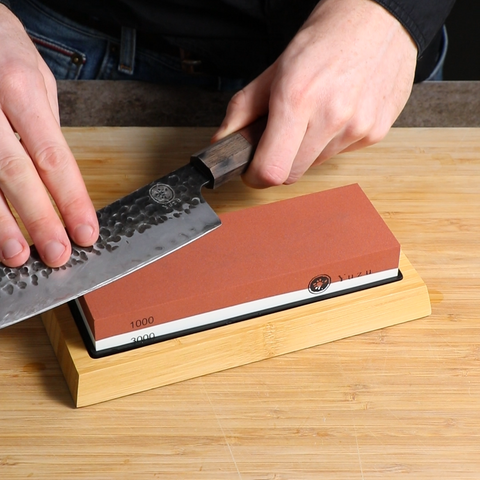
○ Take your knife and hold the handle firmly with your dominant hand, and keep the blade at the right angle with your other hand, grabbing it roughly in the middle.
○ Position the blade at a 15 degree angle against the whetstone. You can use the spine of the knife as a guide to help you maintain the correct angle throughout the sharpening process.
○ This is about as high as two 20p coins stacked.
Start with the Coarse Side (1000 Grit)○ Begin the sharpening process by using the coarse side of the whetstone (1000 grit).
○ Apply light pressure on the knife and slide it across the stone, moving from the base to the tip of the blade.
○ It is often easier to pull the knife towards you, with the sharp edge facing away. Repeat this motion 15-20 times on one side before switching to the other side.
○ Consistency is key to achieving an even edge, this takes practice so don’t get discouraged!
Perform the Burr Test○ To check if you've properly sharpened the knife, gently run your fingertip from the spine towards the edge of the blade (be careful!).
○ If you feel a slight burr, it indicates that you've sharpened it correctly.
○ Try to even out this burr as much as possible by switching between sides.
Switch to the Fine Side (3000 Grit)○ Flip the whetstone to the finer side (3000 grit).
○ Repeat the same process of sliding the knife across the stone, but this time apply even lighter pressure.
○This step helps refine the edge further, creating a smoother and sharper finish.
3 | Cleanup :
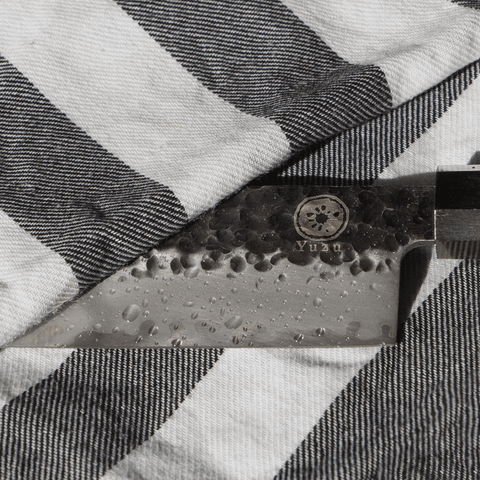
○ After sharpening, rinse the knife thoroughly under running water to remove any metal particles and residue from the sharpening process.
○ Once clean, dry the knife with a clean tea towel.
Clean the Whetstone○ Rinse the whetstone as well to remove any metal shavings and debris.
○ Allow it to air dry completely before storing it for future use.
Paper test○ Test the new edge on your knife by holding a piece of paper in the air and slicing it by pushing the knife into the edge of the paper.
○ If it slices cleanly without ripping you have successfully sharpened your knife, and it has a screamingly sharp edge again!
Shop whetstone
get the right tool for the job


Dual-Sided Whetstone
• This Japanese style dual sided Whetstone is the perfect tool to quickly and precisely sharpen and maintain your knives.
• Featuring a 1000/3000 grit dual-sided surface, the 1000 side is perfect for getting a sharp edge quickly while the 3000 side is ideal for polishing and obtaining a razor-sharp finish.
• Comes with a sturdy wooden base to fix the stone in place while sharpening.